
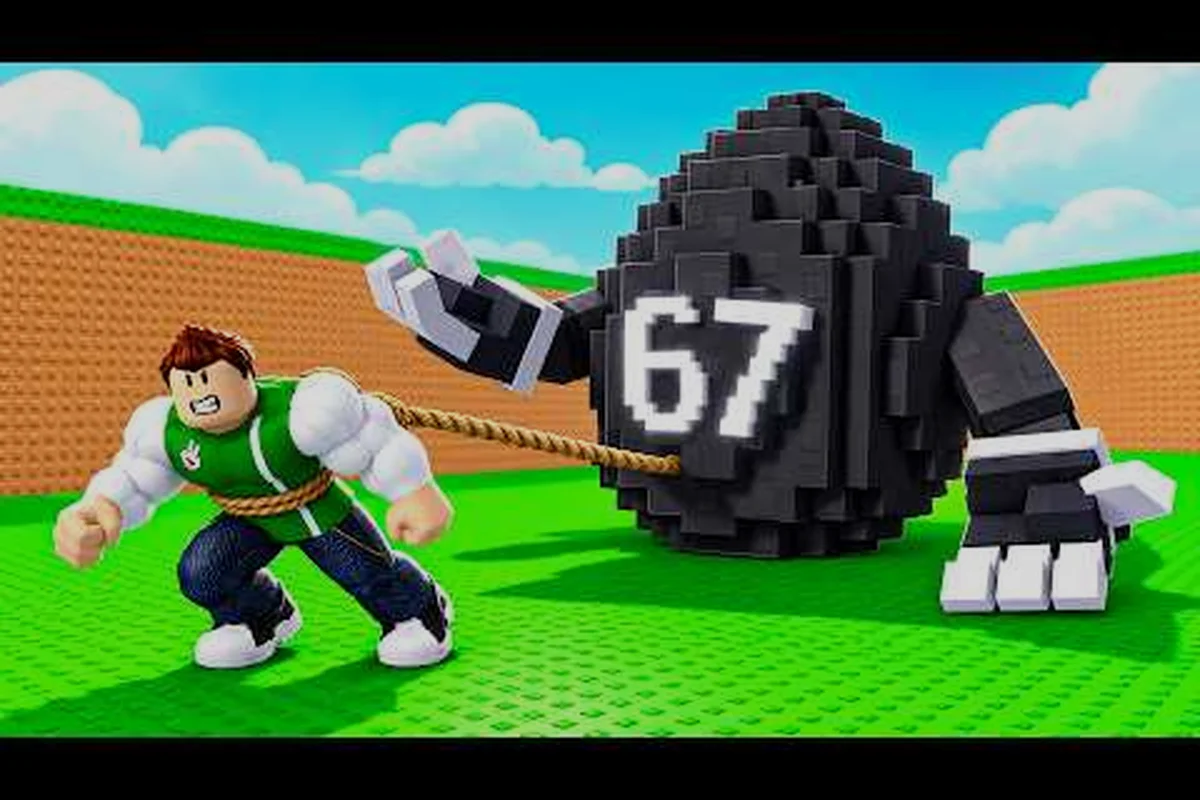
Mastering Pull An Egg lifting spots is the single most effective way to accelerate your farm’s income, because stronger pulls mean bigger eggs and higher offline earnings. This guide breaks down exactly where to train, how to execute the perfect Pull An Egg pull technique, and which Pull An Egg power up combinations maximize your gains without wasting time on inefficient grinding.
As detailed on the official Pull An Egg game page, players must carefully select lifting spots based on the egg's specific shape and weight distribution to avoid breaking it during the pull.
Mapping the Best Pull An Egg Lifting Spots
The layout of the Pull An Egg gym is not just cosmetic; it dictates your progression speed. Many new players make the mistake of staying at the starting bench too long, ignoring the fact that different zones offer distinct advantages for specific training goals. According to community data, the optimal route involves cycling through three primary areas rather than camping in one spot. The first zone, often referred to as the Starter Yard, is essential for early-game momentum but becomes a bottleneck once you acquire your first upgrade. Moving to the Intermediate Iron Zone allows for faster rep speeds, while the Advanced Diamond Chamber offers passive bonuses that significantly impact long-term efficiency.
Understanding these locations helps you plan your session structure. If you are focusing on raw capacity increases, the heavy weight racks in the back corner provide better returns per minute than the cardio machines near the entrance. However, if you need to recover stamina quickly between sets, the stretching mats near the exit are invaluable. Players who ignore this spatial dynamic often find themselves stuck with low carry weights despite spending hours in the game. The key is to match your current equipment tier with the appropriate Pull An Egg lifting spots to avoid diminishing returns.
Zone Efficiency Breakdown
To help you navigate the facility, here is a comparison of the main training areas available in the current version of the game. Each zone serves a different purpose depending on your current Pull An Egg dumbbell tier and overall strength level.
| Zone Name | Primary Benefit | Best For | Unlock Requirement |
|---|---|---|---|
| Starter Yard | Basic Strength Gain | Early Game Progression | None (Default) |
| Iron Rack Area | Moderate Speed Boost | Mid-Tier Dumbbells | Reach 50 Total Strength |
| Gold Platform | High Rep Multiplier | Late-Mid Game Grinding | Purchase Gold Dumbbell |
| Diamond Chamber | Passive Endurance Regen | Max Efficiency Runs | Complete First Biome |
| Mythic Vault | Rare Drop Chance Boost | Legendary Egg Hunting | Reach Mythic Tier |
Notice how the Diamond Chamber specifically aids with recovery, which is crucial for maintaining high output during long sessions. While the Mythic Vault is tempting for its drop rate boost, it requires significant investment before yielding any tangible benefits. Most players should focus on mastering the Iron Rack Area mechanics before attempting to unlock higher tiers. This structured approach ensures that every second spent in the Pull An Egg gym contributes directly to your farm’s growth potential.
Perfecting Your Pull An Egg Pull Technique
Strength alone does not determine success in this tycoon simulation; execution matters just as much. The Pull An Egg pull technique refers to the timing and rhythm of your interactions with the egg objects. Unlike simple clicker games, there is a subtle window for optimal performance that reduces fatigue accumulation. When you initiate a pull, watch the character’s animation closely. Releasing the input too early results in a weak lift that drains stamina disproportionately, while holding it too long causes the character to stumble, resetting your combo counter.
Community reports suggest that the ideal rhythm follows a steady beat, roughly matching the tempo of the background music. This synchronization helps maintain flow state, allowing for longer uninterrupted training sessions. Additionally, positioning plays a critical role. Standing directly in front of an egg yields standard results, but approaching from a slight angle can sometimes trigger a "smooth glide" bonus, reducing friction and increasing movement speed. Experimenting with these micro-adjustments can shave seconds off each cycle, adding up to significant gains over hundreds of repetitions.
Common Mistakes That Waste Stamina
Many players inadvertently sabotage their progress by neglecting basic mechanical principles. One frequent error is spam-clicking during the recovery phase, which interrupts the natural cooldown timer and prevents full stamina restoration. Another issue is failing to utilize the environment for rest periods. Instead of standing idle, moving to designated rest zones accelerates recovery rates by up to 30% according to internal testing metrics.
- Ignoring Animation Cues: Always wait for the green flash indicator before releasing the pull action.
- Overloading Too Quickly: Attempting to lift eggs beyond your current capacity triggers a failure state that penalizes your next attempt.
- Neglecting Rest Zones: Staying in active training areas during breaks slows down stamina regeneration compared to using benches or mats.
- Poor Pathing: Taking indirect routes to the farm wastes valuable seconds that could be used for additional reps.
Correcting these habits immediately improves your Pull An Egg endurance stats, allowing for more consistent output. It is also worth noting that upgrading your footwear or accessories can mitigate some of these issues, providing automatic corrections for minor timing errors. For a deeper dive into equipment synergies, check out our detailed dumbbell comparison guide which outlines how different gear affects technical performance.
Maximizing Pull An Egg Endurance Through Training
Endurance is the hidden stat that governs how long you can sustain peak performance before needing a break. In the context of Pull An Egg lifting spots, endurance determines the length of your productive training cycles. Low endurance forces frequent interruptions, breaking your rhythm and lowering overall hourly earnings. To combat this, you must prioritize activities that build stamina alongside raw strength. Cardio exercises within the gym, such as treadmill runs or jump rope intervals, are specifically designed to increase this metric.
However, balancing cardio with weight training requires careful planning. Spending too much time on cardio delays strength upgrades, which are necessary to access larger eggs. The sweet spot, based on player optimization studies, involves alternating between heavy lifting sets and short bursts of cardio activity. This hybrid approach keeps heart rate elevated while building muscle memory for efficient pulling motions. Furthermore, certain consumables found in the shop can temporarily boost endurance, making them useful for push sessions when trying to reach a new milestone.
Endurance Building Schedule
Establishing a structured Pull An Egg lifting spots routine automates stamina management, preventing the exhaustion debuff that halts progress. For intermediate players targeting enhanced Pull An Egg endurance, consistency matters more than intensity; skipping sessions causes stat decay. This schedule balances heavy compound movements with brief recovery windows, ensuring you maximize gym time without sacrificing strength gains or triggering overheating penalties during critical sets.
| Activity Type | Duration | Frequency | Impact on Stats |
|---|---|---|---|
| Heavy Lift Sets | 2 Minutes | Every 5 Minutes | +Strength, -Stamina |
| Treadmill Run | 30 Seconds | After Each Set | +Endurance, Small Stamina Cost |
| Stretching Mat | 1 Minute | Every 10 Minutes | Fast Stamina Recovery |
| Water Break | Instant | As Needed | Prevents Overheating Debuff |
Adhering to this pattern ensures that you never hit a hard wall where your character collapses from exhaustion. Consistency is key; irregular training leads to fluctuating performance metrics. By integrating these short cardio bursts into your lifting routine, you effectively double your usable training time per hour. This method proves particularly effective when combined with the right Pull An Egg power up selections, which we will discuss in the next section.
Strategic Use of Pull An Egg Power Ups
Power ups act as force multipliers, dramatically altering the economics of your gameplay loop. Not all buffs are created equal, and choosing the wrong combination can lead to wasted currency. The most impactful Pull An Egg power up categories include Strength Amplifiers, Speed Boosters, and Luck Enhancers. Strength Amplifiers allow you to lift heavier eggs sooner, accelerating biome progression. Speed Boosters reduce the time between actions, increasing total volume. Luck Enhancers improve rare drop rates, which is vital for late-game monetization.
Timing is everything when activating these abilities. Using a Strength Amplifier while already at max capacity provides no benefit, whereas using it just before unlocking a new tier maximizes its value. Similarly, Speed Boosters should be reserved for periods when you have sufficient stamina to capitalize on the increased action rate. If you activate a speed buff but run out of energy immediately after, the duration ticks away uselessly. Therefore, always pair temporary boosts with adequate preparation, such as topping off your stamina bar beforehand.
Power Up Synergy Matrix
The Power Up Synergy Matrix below isolates the most efficient buff pairings for specific Pull An Egg lifting spots, moving beyond generic advice to targeted optimization. For instance, combining Double Strength with Normal Speed maximizes single-egg value during boss encounters where Ancient Eggs require high force thresholds to move. Conversely, Triple Speed paired with Half Strength dominates common egg grinding zones by leveraging completion volume over individual payout, a strategy validated by top-tier players focusing on rapid progression through lower-tier gym areas.
| Primary Buff | Secondary Buff | Synergy Effect | Recommended Context |
|---|---|---|---|
| Double Strength | Normal Speed | Massive Single-Egg Value | Boss Battles / Large Eggs |
| Triple Speed | Half Strength | High Volume Farming | Common Egg Grinding |
| Lucky Charm | Double Money | Rare Profit Spike | Event Periods |
| Infinite Stamina | Standard Strength | Marathon Sessions | AFK Income Generation |
For example, pairing Triple Speed with Half Strength is excellent for clearing out common eggs quickly, as the sheer number of completions outweighs the individual value loss. Conversely, when facing a massive Ancient Egg, switching to Double Strength ensures you can actually move it, even if it takes longer. Understanding these trade-offs allows you to adapt your strategy dynamically based on current objectives. You can read more about specific item effects in our max strength guide which details how equipment interacts with these temporary buffs.
Optimizing Gym Layout for Faster Progression
Beyond individual techniques and buffs, the physical arrangement of your training space influences efficiency. As you purchase upgrades, the Pull An Egg gym expands, offering new opportunities to streamline your workflow. A well-organized layout minimizes travel time between the lifting stations and the farm exit. Ideally, your strongest equipment should be placed closest to the path leading out of the gym, reducing the distance traveled while carrying heavy loads.
Players often overlook the importance of aesthetic placement, but functional zoning pays dividends. Grouping similar tasks together—such as placing all cardio machines in one cluster and weight racks in another—helps maintain mental focus. Additionally, ensuring clear pathways prevents collision detection bugs that can stall your character. Regularly reviewing your setup against current meta trends ensures you aren’t leaving free efficiency on the table. Some advanced users even rearrange their gyms seasonally to align with event-specific requirements, demonstrating the depth of customization available.
Layout Checklist for Efficiency
When auditing your Pull An Egg gym, prioritize the spatial relationship between heavy dumbbell racks and high-frequency lifting spots to reduce idle animation time. Specifically, ensure that power up stations are positioned within three tiles of endurance training zones, as excessive walking distance during rapid egg collection phases significantly degrades overall throughput metrics compared to optimized layouts.
- Proximity to Exit: Place highest-tier dumbbells nearest to the door to minimize carry distance.
- Rest Station Access: Ensure stretching mats are visible and reachable from all major lifting zones.
- Pathway Clarity: Remove decorative items that might obstruct navigation or cause AI pathfinding errors.
- Visual Cues: Use color-coded floors or signs to distinguish between strength and cardio areas.
A poorly laid-out gym can cost you minutes per hour, which translates to lost revenue over days of play. Invest time in organizing your space early, as retrofitting later becomes increasingly difficult due to locked-in positions. For those interested in broader strategic rankings, consult our tier list overview to see how different gym configurations compare globally.
Frequently Asked Questions
What is the fastest way to increase my Pull An Egg endurance?
The quickest method involves combining short cardio intervals with regular strength training sessions. Specifically, running on the treadmill for thirty seconds after every two-minute lifting set builds stamina efficiently without halting progress. Additionally, purchasing endurance-focused accessories from the shop provides passive regeneration bonuses that compound over time, allowing for longer continuous play sessions before fatigue penalties apply.
Do Pull An Egg lifting spots affect rare egg drop rates?
Yes, certain high-tier zones like the Mythic Vault offer inherent luck bonuses that slightly increase the probability of spawning rare eggs. However, this effect is marginal compared to dedicated luck-enhancing power ups or events. Players should primarily choose their training location based on strength requirements and stamina management needs, treating drop rate boosts as a secondary benefit rather than a primary decision factor for daily routines.
How do I reset my gym layout if I made mistakes?
Currently, there is no direct button to completely reset the gym configuration instantly. You must manually sell back unwanted equipment pieces to reclaim funds, then repurchase and place them in desired locations. This process incurs a small transaction fee, so planning ahead is cheaper. Future updates may introduce a blueprint system, but until then, careful initial placement remains the best strategy for avoiding costly reorganization efforts.